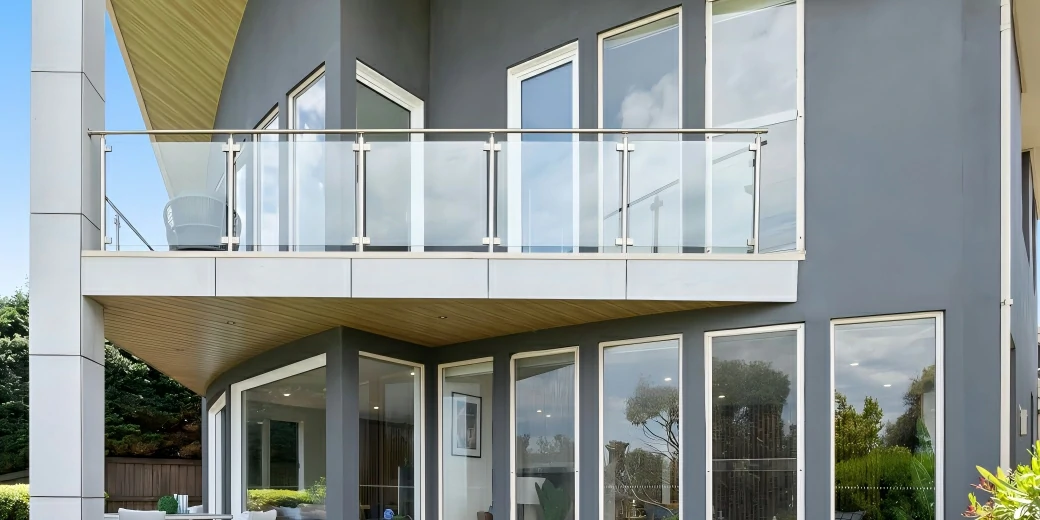
Glass railings offer a sleek, modern aesthetic that maximizes views and opens up spaces. However, the beauty of a frameless glass system relies entirely on the structural integrity of its hardware. Installing glass railing systems requires precision, proper hardware selection, and correct installation techniques. When done properly, glass clamps provide a secure, clean, and professional finish without compromising the integrity of the glass.
This glass clamp installation guide explains how to install glass railing clamps correctly, step by step, to ensure safety, durability, and compliance with common railing standards.
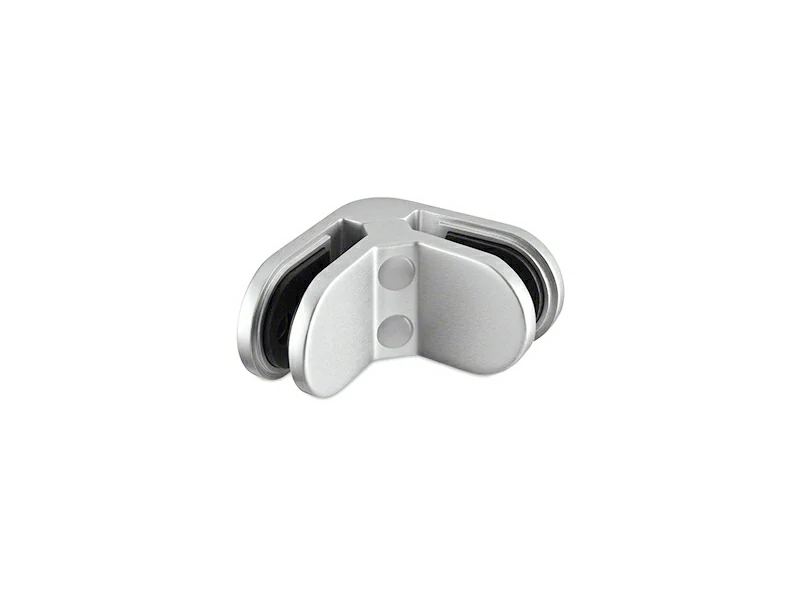
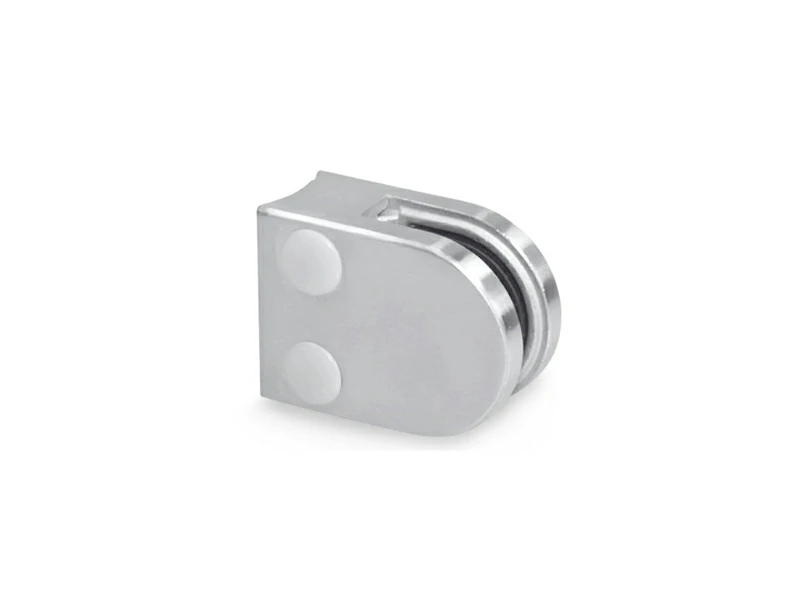
What Are Glass Railing Clamps?
Glass railing clamps are mechanical fittings used to secure glass panels to posts, walls, or handrail structures. They are commonly used in balustrades, stair railings, balconies, and pool fencing systems. Most clamps are designed to hold glass through clamping pressure and rubber gaskets, eliminating the need to drill holes in the glass.
Before You Begin: Safety and Codes
Installing glass railings requires precision and patience. Before picking up a drill, ensure you have addressed the following:
- Local Building Codes: Always check with your local municipality regarding railing height, glass type requirements (usually tempered or laminated safety glass), and spacing regulations.
- Structural Substrate: The clamps are only as strong as the surface they are bolted to. Ensure your posts, deck framing, or concrete slab are structurally sound enough to handle the significant weight and wind loads placed on glass panels.
Tools and Materials Needed
To ensure a successful glass railing hardware install, gather the following items:
Materials:
- Glass railing clamps (ensure they match your glass thickness)
- Rubber gaskets or inserts (matched to glass thickness)
- Stainless steel fasteners (typically supplied with clamps)
- Glass panels
Tools:
- Tape measure and pencil
- High-quality spirit level (preferably a 4-foot level) or laser level
- Drill and impact driver
- Drill bits appropriate for your substrate (wood or masonry bits)
- Allen keys (hex keys) tailored to the clamp screws
- Rubber mallet
- Protective gloves and safety glasses
Step-by-Step Guide to Installing Glass Clamps
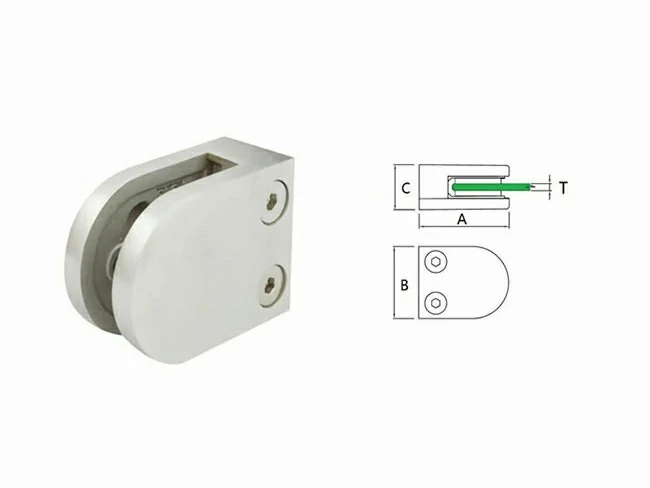
Step 1: Confirm Glass Thickness and Clamp Compatibility
Verify that the glass thickness matches the clamp specification (for example, 8 mm, 10 mm, or 12 mm). Use the correct rubber gaskets supplied for the glass thickness to ensure proper grip and prevent glass damage.
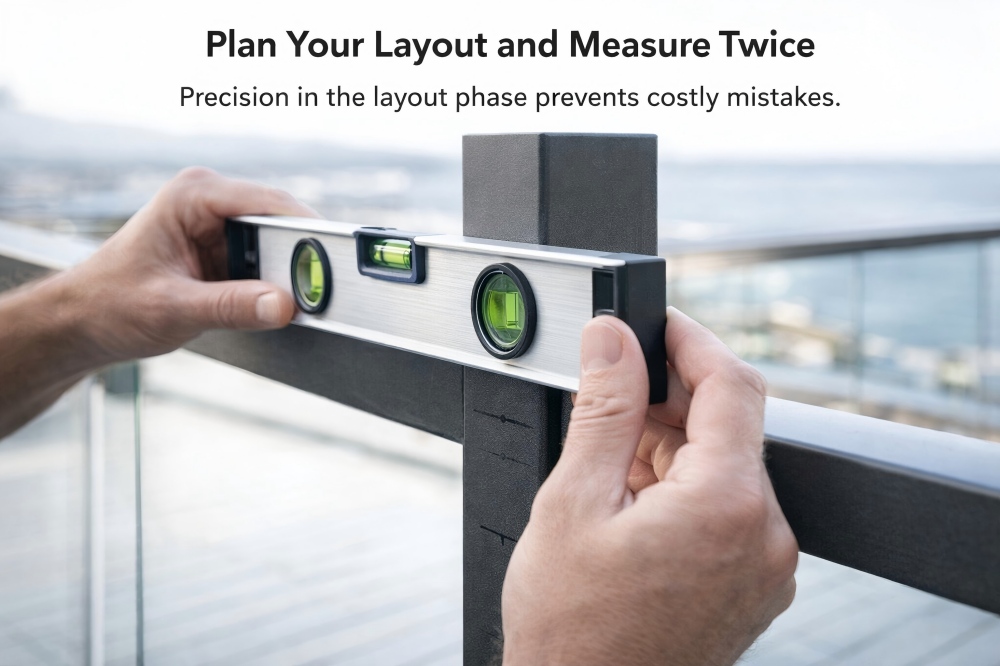
Step 2: Plan Your Layout and Measure Twice
Precision in the layout phase prevents costly mistakes later.
- Determine Spacing: Decide where your posts or mounting points will be. Standard spacing between posts is often between 4 and 6 feet, but this depends on your glass thickness and local codes.
- Mark Clamp Height: Generally, you need at least two clamps per glass panel to prevent pivoting. Mark the center point for the bottom clamp (usually 4–6 inches from the bottom deck surface) and the top clamp (usually 4–6 inches below the top edge of the glass).
- Ensure Level: Use your level to ensure the marks on adjacent posts are perfectly aligned horizontally. If your clamps aren't level, your glass won't be either.
Step 3: Drill Pilot Holes and Mount the Clamps
Once your layout is marked, it’s time to attach the hardware to the structure.
- Disassemble Clamps: Remove the front plate of the clamp (the part that holds the glass in) and set it aside with its screws. You should be left with the "back" L-shaped portion of the clamp.
- Drill Pilot Holes: Using the back of the clamp as a template, mark your drilling holes on the post or wall. Remove the clamp and drill appropriate pilot holes into the substrate.
Tip: For concrete, use a hammer drill and ensure the hole is clean of dust before inserting anchors. - Fasten the Back Plate: Secure the back portion of the clamp to the post using your lag bolts or concrete anchors. Ensure it is tight against the substrate and perfectly plumb (vertically level).
Step 4: Prepare the Clamps for Glass Construction
Never allow metal hardware to touch the glass directly.
- Insert Rubber Gaskets: Install the rubber gaskets (sometimes called bushings or inserts) into the back part of the mounted clamp.
- Prepare the Front Plate: Ensure the corresponding rubber gaskets are fitted into the front plates that you set aside earlier. These gaskets protect the glass and provide the friction needed to hold the panel in place.
Step 5: Install the Glass Panels
Note: This is almost always a two-person job. Glass panels are heavy and awkward to maneuver safely alone.
- Position the Glass: Have one person carefully lift the glass panel and rest it on spacing blocks placed on the floor (to ensure the required gap beneath the glass). Lean the glass gently against the rubber gaskets of the mounted back clamps.
- Attach Front Plates: While one person holds the glass steady against the back clamps, the second person should place the front clamp plates (with gaskets) over the glass.
- Hand-Tighten: Insert the machine screws and hand-tighten them with an Allen key just enough so the glass is secure and won't fall, but is still loose enough to be adjusted slightly.
Step 6: Final Adjustments and Tightening
- Check Level and Plumb: Use your long spirit level on top of the glass panel to ensure it is horizontally level. Check the face of the glass to ensure it is vertically plumb. Adjust the panel slightly while the clamps are still snug-but-not-tight.
- Final Torque: Once the panel is perfectly positioned, tighten the clamp screws evenly.
Crucial Warning: Do not overtighten. Overtightening can shatter tempered glass instantly. Tighten until the lock washers are flat and the rubber gaskets are compressed firmly against the glass. If your clamp manufacturer provides torque specifications, use a torque wrench to meet them precisely.
Common Mistakes to Avoid
- Forgetting the Gaskets: Missing gaskets lead to metal-on-glass contact, which will eventually cause the panel to shatter due to vibration or thermal expansion.
- Weak Substrates: Mounting heavy glass onto rotted wood decking or thin drywall will result in system failure. The anchor point must be solid structural material.
- Misaligned Clamps: If the top and bottom clamps aren't perfectly aligned vertically, placing the glass into them will put stress on the panel, increasing the risk of breakage during installation.
- Using incorrect gasket size for the glass thickness
- Overtightening clamp screws
- Uneven clamp spacing
- Installing clamps without checking level and alignment
- Mixing incompatible materials (e.g., carbon steel fasteners outdoors)
Safety and Maintenance Tips
- Always use stainless steel clamps appropriate for the environment (316 for outdoor or coastal use)
- Periodically inspect clamps for loosening or wear
- Clean clamps with non-abrasive cleaners to maintain finish
- Re-tighten screws if required during routine maintenance
Final Thoughts
Correct installation is essential to the performance and safety of any glass railing system. By following this step-by-step glass clamp installation guide, you can confidently install glass railing clamps that are secure, aligned, and visually clean.
Proper installation not only protects the glass but also extends the service life of the railing hardware. Whether for residential or commercial projects, careful attention to detail ensures a durable and professional result.