Installing handrail brackets correctly is one of the most important steps in creating a safe, durable, and visually appealing handrail system. Whether you're renovating a residential staircase, upgrading a balcony, or installing a commercial handrail, properly mounted brackets provide the structural support needed to keep the handrail stable under everyday use.
Many homeowners and DIY installers assume that handrail bracket installation is simply a matter of screwing brackets into the wall. In reality, factors such as wall construction, bracket spacing, fastener selection, and handrail alignment all affect the safety and longevity of the installation. Improperly installed brackets can loosen over time, cause the handrail to sag, or even fail under load. While a custom balustrade system may look complex, learning how to install handrail brackets correctly allows homeowners and trade contractors to achieve a clean, professional finish.
This guide explains how to install handrail brackets step by step, covering recommended spacing, essential tools, installation methods for different wall materials, common mistakes to avoid, and tips for selecting high-quality stainless steel handrail fittings for both indoor and outdoor applications.
What Are Handrail Brackets?
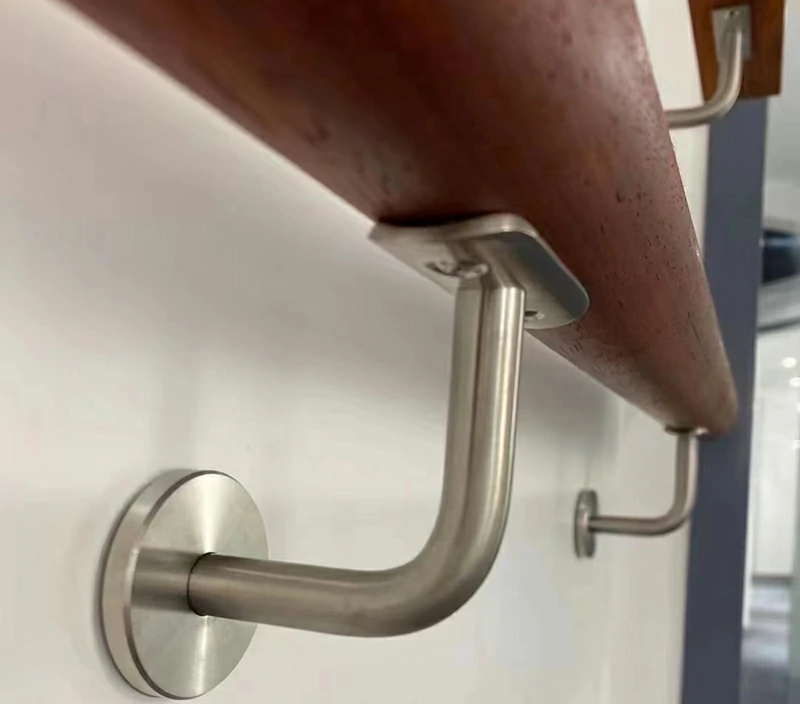
Handrail brackets are structural fittings used to connect a handrail securely to a wall, post, or other supporting surface. Their primary purpose is to transfer the load from the handrail into the building structure while maintaining the proper clearance between the handrail and the wall.
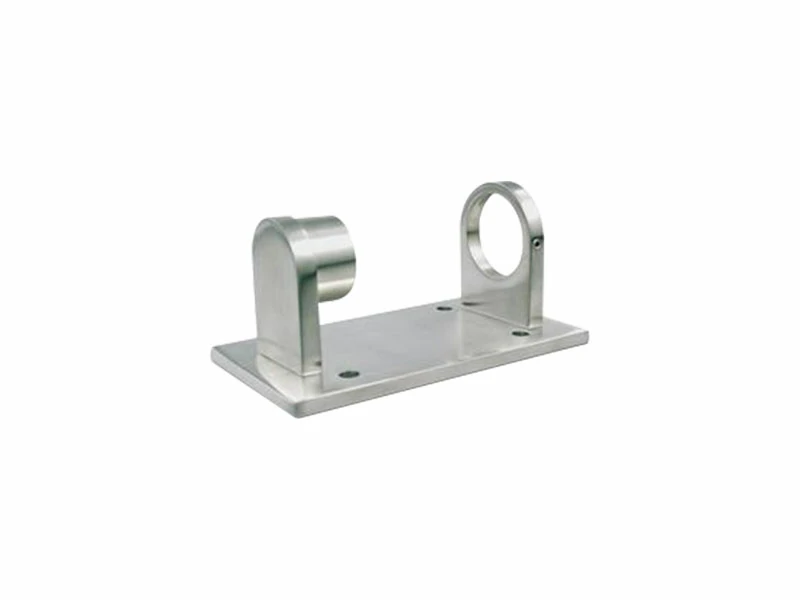
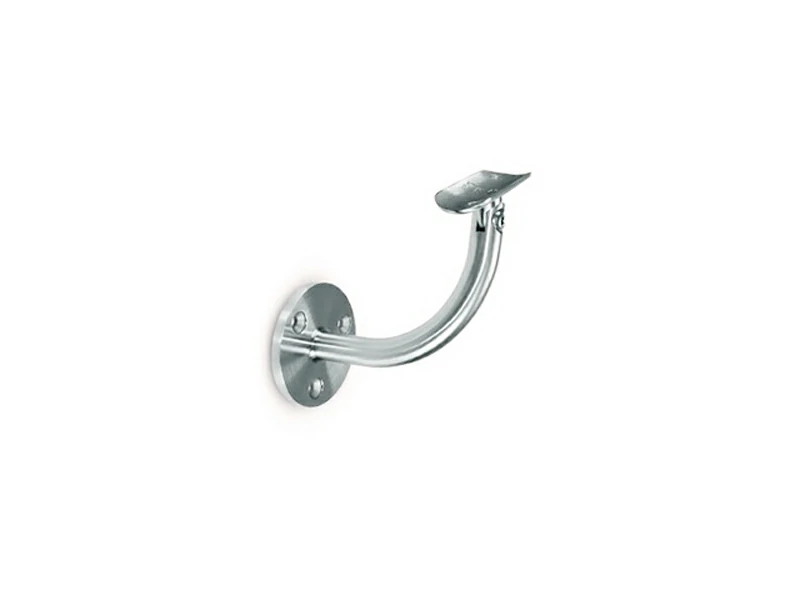
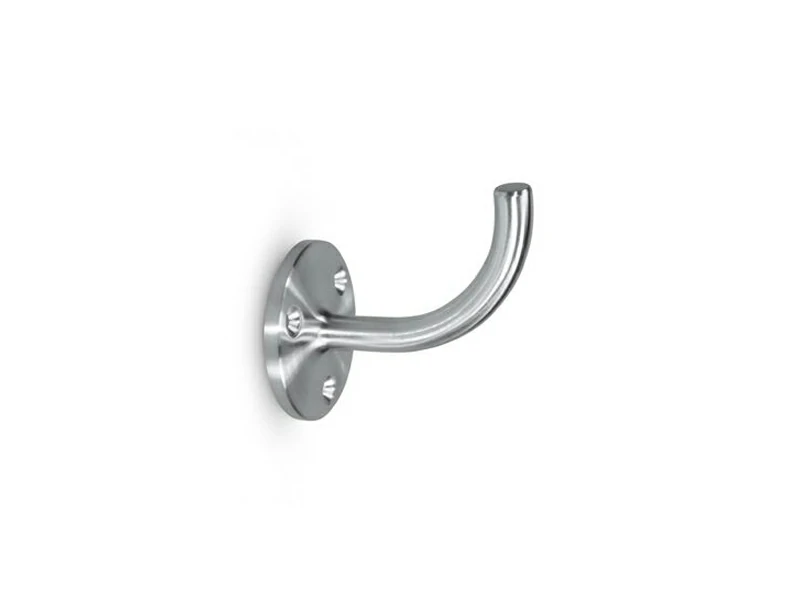
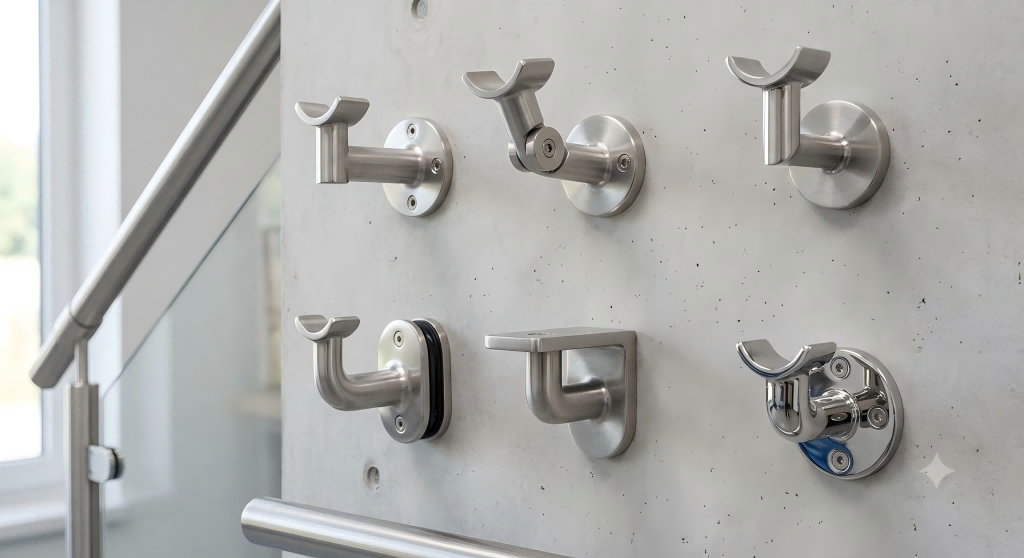
Modern brackets are available in a variety of styles to suit different architectural designs and handrail materials. Common options include:
- Wall mounted handrail brackets
- Adjustable handrail brackets
- Concealed handrail brackets
- Glass-mounted handrail brackets
- Flat saddle and round saddle brackets
Manufactured from durable materials such as high-grade stainless steel, solid brass, or aluminum, premium brackets provide the necessary structural strength while contributing a modern, polished aesthetic to interior and exterior architectural designs. Most premium brackets are manufactured from 304 or 316 stainless steel, offering excellent strength, corrosion resistance, and a clean architectural appearance. Satin finishes are commonly selected for interior applications, while mirror-polished 316 stainless steel is preferred for outdoor installations.
Properly selected handrail fittings not only improve structural performance but also enhance the overall appearance of staircases, balconies, ramps, and walkways.
Key Building Codes & Spacing Rules
Before beginning installation, verify the applicable building regulations in your region. Local building codes may differ, but most follow similar safety principles regarding handrail height, bracket spacing, and structural support.
Recommended Handrail Height
Typical installation heights are:
- Residential stairways: 34–38 in (865–965 mm) above the stair nosings
- Commercial buildings: Follow local code requirements
- Accessible ramps: May require additional regulations for accessibility compliance
Always measure vertically from the front edge (nosing) of each stair tread to the top of the handrail.
Handrail Bracket Spacing
Proper handrail bracket spacing prevents excessive flexing while maintaining a clean appearance.
General recommendations include:
| Handrail Length | Recommended Number of Brackets |
|---|---|
| Up to 1.5 m (5 ft) | 2 |
| 1.5–2.5 m (5–8 ft) | 3 |
| 2.5–3.5 m (8–11 ft) | 4 |
| Over 3.5 m (11 ft) | Add one bracket every 1.2–1.5 m (4–5 ft) |
Additional brackets should be installed where heavy traffic or increased loads are expected. For optimal weight distribution, place the outermost brackets between 4 and 6 inches (100 mm to 150 mm) from each end of the handrail.
Fastener Selection
Bracket performance depends as much on the fasteners as the brackets themselves.
Choose anchors appropriate for the wall material:
- Wood studs – Wood screws or lag screws
- Concrete – Expansion anchors or concrete screws
- Brick – Masonry anchors
- Steel framing – Self-drilling metal screws or threaded inserts
Never rely solely on drywall anchors for primary handrail support unless they are specifically engineered for structural loads.
Wall Clearance Requirements
Building codes typically mandate a minimum clearance of 1.5 inches (38 mm) between the wall surface and the handrail to allow users to grasp the rail smoothly without scraping their knuckles.
Load Bearing Capacity
Code standards require stair handrail brackets to support a single concentrated load of at least 200 pounds (890 N) applied in any downward or lateral direction.
Tools and Materials You'll Need
Preparing the correct tools before installation helps ensure accuracy and efficiency.
Essential Tools
- Tape measure
- Spirit level or laser level
- Pencil or marking tool
- Stud finder
- Electric drill
- Electric power drill and assorted drill bits
- Screwdriver or impact driver
- Adjustable wrench
- Safety glasses and dust mask
Materials
- High-quality wall mounted handrail brackets
- Mounting screws
- Wall anchors
- Expansion bolts (if required)
- Wooden, stainless steel, or aluminum handrail
- Touch-up cleaner for stainless steel
Step-by-Step Installation Process
Step 1: Locate and Mark Wall Studs
Because attaching handrail to wall surfaces requires solid structural support, brackets must be anchored directly into wall studs rather than hollow drywall alone. Slide an electronic stud finder horizontally along the wall where the railing will be installed, and mark the center of each stud using a pencil. If installing on masonry or concrete, determine the anchor locations before drilling.
Step 2: Measure and Mark Handrail Height
Measure up vertically from the front edge of the bottom and top stair nosings to your desired height (typically 36 inches). Mark these two reference points, and use a long level, chalk line, or laser guide to project a continuous, parallel slope line along the wall matching the angle of your staircase.
Step 3: Position and Mark Bracket Hole Locations
Align your stair handrail bracket along the marked slope line at each stud location, ensuring the bracket arm height matches your reference line. Hold the bracket firmly against the wall and mark the exact mounting screw hole positions through the bracket base plate with a pencil.
Check that:
- Brackets are evenly spaced.
- End brackets are positioned close to each end of the handrail.
- Intermediate brackets provide adequate support.
- There is sufficient clearance between the handrail and the wall.
Double-check measurements before proceeding.
Step 4: Drill Pilot Holes
Select the appropriate drill bit for the wall material. Drill pilot holes to the correct depth while keeping the drill perpendicular to the wall. For masonry walls, remove dust from each hole before installing anchors to improve holding strength. Avoid oversized holes, which may reduce anchor performance.
Step 5: Mount the Brackets to the Wall
Insert the selected anchors if required. Secure each bracket using the recommended fasteners. Do not fully tighten each bracket until all brackets have been installed and checked for alignment. After confirming that every bracket is level and correctly positioned, tighten all fasteners securely.
Step 6: Attach the Handrail to the Brackets
Carefully lay your handrail across the installed bracket cradles. Adjust the rail position so that equal overhang lengths remain on both ends. Pre-drill pilot holes into the underside of the handrail through the bracket support saddle, and secure the rail tightly using appropriate mounting fasteners. Ensure the handrail sits evenly across all brackets before tightening the fixing screws. Once complete, inspect the handrail by applying moderate pressure to verify stability.
Pro Tips for Special Wall Types
Different wall materials require different installation techniques to achieve safe and durable results.
Installing Handrail Brackets on Drywall
When installing handrail brackets on drywall, anchoring directly into wood studs is always the primary requirement. If a bracket location does not align with an existing stud, you must install wood blocking behind the wall or use heavy-duty toggle bolts rated for structural loads. Never rely on standard plastic wall anchors, as they cannot support the weight demands required for safety handrails.
Installing Handrail Brackets on Concrete Wall
When installing handrail brackets on concrete wall surfaces, solid brick, or masonry, pre-drill holes using a carbide-tipped masonry drill bit. Insert heavy-duty concrete sleeve anchors or expansion bolts to secure the bracket base plates firmly. Ensure all dust is thoroughly cleared from the drilled holes prior to inserting the concrete anchors for maximum grip strength. Concrete provides excellent long-term support when installed correctly.
Stainless Steel / Metal Handrails
When joining metal handrails to stainless steel handrail fittings, use stainless steel fasteners to avoid galvanic corrosion caused by dissimilar metals. Pre-drill precise pilot holes into metal tubes using sharp high-speed steel (HSS) or cobalt drill bits, and consider applying thread-locking compound to screws to prevent them from loosening over time under constant vibration. Remove fingerprints after installation using a stainless steel cleaner. For outdoor projects, choose 316 stainless steel handrail brackets to maximize corrosion resistance.
Common Installation Mistakes
Many installation problems can be avoided with careful planning and attention to detail.
- Failing to Anchor into Wall Studs: Securing brackets into drywall alone creates a severe safety hazard that can result in structural detachment.
- Inaccurate Height Measurement: Measuring height from the flat floor rather than parallel to the stair nosing slope leads to an uneven, non-compliant handrail.
- Exceeding Recommended Bracket Spacing: Spacing brackets too far apart causes the handrail to flex and puts excessive strain on individual mounting points.
- Omiting Pilot Holes: Skipping pilot holes can split timber studs or snap mounting screw heads during driver torque.
- Other: Using undersized anchors, over-tightening screws and damaging anchors, mixing incompatible fasteners with stainless steel components, selecting 304 stainless steel for harsh coastal environments instead of 316 or Duplex 2205.
Carefully checking measurements and using the correct hardware will greatly improve installation quality and long-term reliability.
Maintenance Tips
To keep your handrail installation secure and attractive over time, inspect wall brackets every six months. Check that all mounting screws remain tight, and gently re-torque any fasteners that show signs of movement. Clean stainless steel brackets periodically using a damp microfiber cloth and mild soap, or apply a dedicated stainless steel cleaner to maintain surface finish and prevent atmospheric staining.
Choosing the Right Stainless Steel Handrail Brackets
Not all handrail brackets are suitable for every project. Selecting the right product depends on the installation environment, handrail type, and expected load requirements.
When comparing handrail brackets, consider the following factors:
Material Grade
- 304 Stainless Steel – Ideal for interior staircases, offices, shopping centers, and other dry environments.
- 316 Stainless Steel – Recommended for balconies, decks, exterior staircases, and areas exposed to rain or humidity.
- Duplex 2205 Stainless Steel – Best suited for marine, coastal, and highly corrosive environments where maximum durability is required.
Bracket Style
Choose a bracket that matches both the handrail profile and architectural design.
Common styles include:
- Round saddle brackets
- Flat saddle brackets
- Adjustable brackets
- Concealed mounting brackets
- Heavy-duty support brackets
Surface Finish
The finish should complement the overall railing system while meeting environmental requirements.
- Satin Finish – Modern appearance with reduced fingerprint visibility, ideal for interior applications.
- Mirror Polish – Enhanced corrosion resistance and a premium appearance for outdoor and marine environments.
Load Capacity
For commercial buildings, public facilities, and high-traffic stairways, select brackets designed for higher structural loads and ensure they comply with local building regulations.
Compatibility
Confirm that the bracket is compatible with:
- Handrail diameter or profile
- Mounting surface
- Installation method
- Fastener type
- Other handrail fittings within the system
Selecting high-quality stainless steel brackets ensures better performance, easier installation, and lower maintenance over the life of the railing system.
Conclusion & Call to Action
Learning how to install handrail brackets correctly is essential for building a safe, durable, and professional-looking railing system. By following proper layout procedures, maintaining correct handrail bracket spacing, selecting suitable anchors for the wall type, and choosing the appropriate stainless steel grade, you can achieve reliable long-term performance in both residential and commercial applications.
Equally important is selecting high-quality handrail brackets that are engineered for strength, precision, and corrosion resistance. Whether your project involves an interior staircase, an outdoor balcony, a commercial walkway, or a coastal installation, the right handrail fittings will improve both safety and appearance while reducing future maintenance.
At Highco Metal, we manufacture premium stainless steel handrail brackets and railing fittings in 304, 316, and Duplex 2205 stainless steel. Our product range includes wall mounted handrail brackets, adjustable brackets, handrail supports, tube connectors, wall flanges, and other architectural railing components designed for residential, commercial, and marine applications. Contact our team to discuss your project requirements or explore our complete range of stainless steel railing hardware for a durable, professional installation.